About the Blog


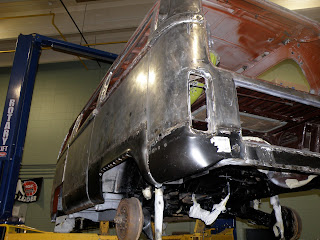
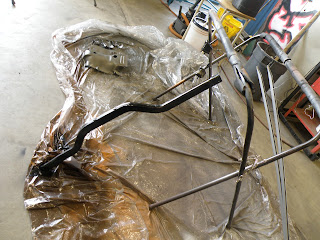
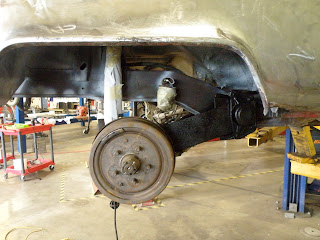
This is a running record of the work Jason and Lena are doing to bring a 1978 VW Bus back to life. She was very close to death's door when we bought her.

We now have a functional vacationmobile that we are taking on adventures. So, this blog has morphed into a travelogue sprinkled with our break-down stories and latest upgrades. Hopefully more of the latter!

Look back in the archive for ALL the work we did to get her where she is today.

Enjoy :)

Suzanne the Van

Suzanne the Van

Tuesday, 10 April 2012

Centre Console Time

We decided that Suzanne needed some modern amenities such as cup-holders.

 Can you believe that back in 1978 people did not have a giant coffee with them at all times?  Ah, those were simpler times...

Well, we need our coffee!  So we came up with a plan to create a multi-purpose, vintage looking console/step-stool thingy:

First we painted a grey coloured, salvaged console from a Dodge Caravan brown
Then we dug out an old apple crate we got for free at the recycle depot and mounted the console in it (after reinforcing the crate with screws).  The crate was shipped from Nelson BC - Oh the Synchronicity!

I used left-over curtain material and some old quilt batting I found and quilted in a VW logo in the upholstery
A better view - kind of....It's subtle!
There is another board under the lid that drops into the box to hold the lid in place
Mmmmmm... ready for coffee!!

Old-timey charm
That concludes our re-purposing lesson for today.  We hope you enjoyed it. See you on the flip side!


Sunday, 8 April 2012

Last Day of Spring "Break"

Well, spring break is over.
But our work on Suzanne sure isn't!!

We have made it farther today.
Have a look:


We've rounded the bend on installing body panels!  WOOT! WOOT!
Suzanne's rear end is looking much better

Almost complete down the whole left side (just needs the front wheel arch)

Master cylinder and proportioning valve painted up

Gear Box painted up


Thanks for stopping by!
See you shortly!

Friday, 6 April 2012

A little bit more

Here's the lot for today:

I particularly like my use of a coke can (I suspect my sister-in-law will too!)

Upstairs Bed - "Before"
Upstairs Bed - "After"                                                
Look: the skin for the rear lower panel is on!
Right side pillar is re-built and the bumper mount fits!
View from below (left side)
From the back- ready to install the rear quarter!!

:)

Engine support bar and the rails for the front cot (watching paint dry)

Only one piece of engine tin to go after these ones!

Engine front cover (both haves) -duh
There was only one flap for the vents at the bottom of the cover so, out came the coke can and the side cutters

Not too bad eh?

Tomorrow:  Master cylinder and proportioning valve and steering box.  Hopefully painted undercarriage as well.

Ta Ta!


Thursday, 5 April 2012

Putting her back together (starting slowly)

Got some more work done today.
Here it is:

Nice Flowery Pillows for Suzanne
Curtains!

Jasper plays Peek-a-Boo in the tie-dye
Bits and pieces all clean and painted
Left front fender from yesterday -painted now

Front under carriage clean and rust-treated #1

Front under carriage clean and rust-treated #2
Front under carriage clean and rust-treated #3 (now painted)
Miranda is off to a new home (to become part of a dune-buggy)
Rear - note that there are no holes in the lower frame under the engine bay door

Rear under carriage clean, treated and painted #1

Rear under carriage clean, treated and painted #2
Back to front - you can see what's left to do!

Left rear - ready to rebuild the pillar (to the center - right side of photo)

And, best of all.......a NEW left rear fender!!!! Whee!!!


 Tomorrow is another day off work so another day for Suzanne... see you shortly!!!

Wednesday, 4 April 2012

Sorry for the delay, here's an update!

We have been picking away, sourcing parts and etc but nothing worth taking a picture of lately .
Until now.....
Running parts though "the dip" to remove rust
"The Dip"  -pH neutral iron cleaner


Engine Case - good to go and pretty!
Engine tin, dipped, clean and painted
Same for fan, mounts, dipstick (hee hee) and oil filler
Mounts for engine and bumper
Rock and roll bed hardware
Right rear - cleaned, treated and started on the paint
Right front #1
Right front #2

Left front wheel well #1
Left front wheel well #2
Left front wheel well #3
J in action!
Engine bay: cleaned and treated, paint started
 Much more coming up including.... curtains and pillows!!  Let the good times roll :)